+86-13921089219


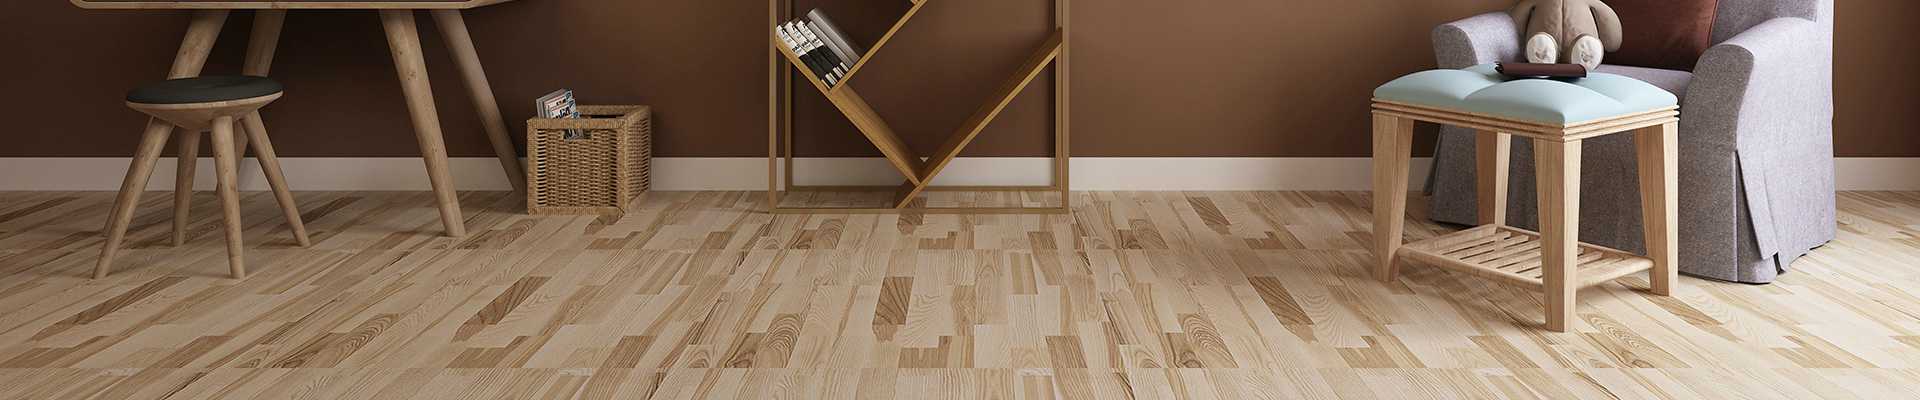
How to repair 4.0mm SPC vinyl tiles
 Aug 25, 2020|
 View:575|Share to:
 If your 4.0mm SPC vinyl tiles are damaged, it is best to repair them as soon as possible. If the conditions are not good, a small amount of liquid spills can seep into the cracks and cause major problems. Fortunately, there is no need to pay for expensive repairs. If you know where to start, you can easily repair your vinyl flooring and save costs in the short and long term.
First, heat the iron as you would normally use it. When heating, lay the aluminum foil flat on the damaged 4.0mm spc vinyl tile to ensure complete coverage and leave extra space.
Finally, use a heated iron to heat the tiles and adhesives on the aluminum foil, and use a hard putty knife to pry the damaged tiles from the floor. Now that you have heated it up, it should be loose enough. After it is completely separated from the floor, discard it and start scraping off the remaining substrate.

Use the adhesive according to the manufacturer's instructions and apply it to the empty space of the floor. Use 1/8 inch trowel. Next, place the new tiles in the correct position.
Finally, use a rolling stick to level the tiles. This will also ensure that the adhesive is uniform and you will not leave any glue on the floor to dry out. If adhesive remains in a visible place, the manufacturer's instructions should tell you how to obtain it after you finish installing the tiles. The wet adhesive can usually be removed with ordinary water and sponge, but many adhesives require the use of specific solvents, and the manufacturer's instructions should be listed.